an Authorized Dealer of RaceDeck
GARAGE FLOORING INSTALLATION
How to install RaceDeck Garage Floor Tiles
Step One
Using a measuring tape, measure the length and width of your garage.
1

Step Two
Once you have your measurements, order your floor tiles.
2

Step Three
When your floor arrives, take everything out of your garage and give your existing concrete a good sweep to eliminate any dirt or dust.
3

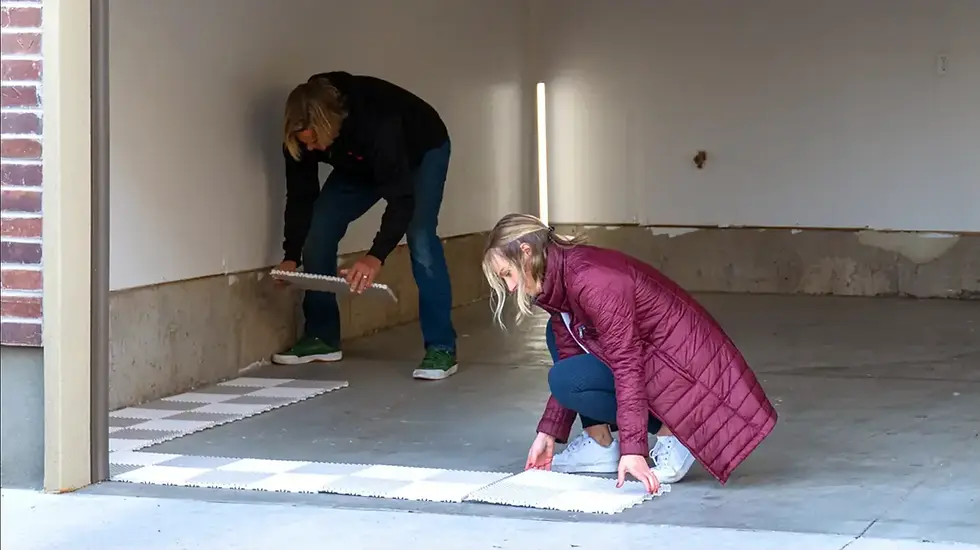
Step Four
When beginning your installation, line up your new floor (with room for edging to be attached) at the garage door opening, to ensure that when the garage door is closed the floor and edges are inside the garage door.
4

Step Five
As you begin laying your tiles, make sure that the loops are all facing the same direction – the direction you want to install the floor. Lay your floor in an L shape- along the garage door opening and left wall *REMEMBER to leave proper space for expansion between your floor and any walls, poles, cabinets etc…
5
Step Six
Reference your online design as you continue to layout your floor. Continue laying as many full modules as possible until your floor is mostly complete.
6

Step Seven
Trim tiles to fit any walls, stairs, poles etc. make sure to leave the same
¼- ½” gap for expansion. Always measure twice, cut once.
7

Step Eight
Install ramp edges.
8
